
Bio-Oz Sourdough Buckwheat Bread (Gluten Free)
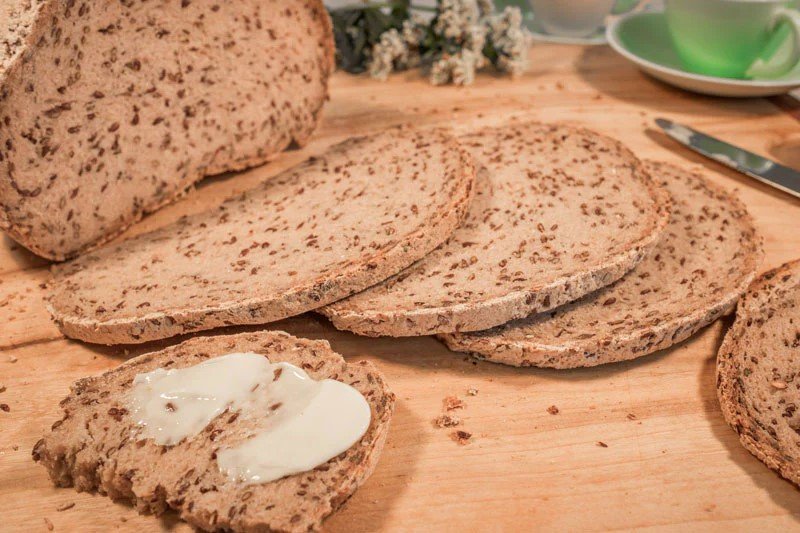
This is a true sourdough, made with a starter. It has a sourdough crust and flavor, and makes amazing toast! You need to start 24 hours in advance but is easy once you get the hang of it. In the photos attached I am making double the recipe ie 2 loaves. This recipe is based on Sophie’s Gluten-Free Sourdough
Ingredients
70 grams activated starter (see starter recipe)
30 grams psyllium husk (it’s best to have small kitchen scales and measure accurately)
570 grams water
8 grams salt
½ cup whole linseeds (optional, but add flavour, texture and health benefits)
460 grams Bio-Oz Buckwheat Flour
Spare ½ - 1 cup Bio-oz Buckwheat flour for kneading
HOW TO MAKE A SOURDOUGH STARTER
There are many good websites on how to make your own sourdough starter. Here is a good site SBS 'Make Your Own Sourdough Starter' I made my starter using Bio-Oz buckwheat flour and water. It takes a few days and once your starter is established (making small bubbles and smelling a bit like apple cider vinegar) you can keep it in a jar in the fridge. Before each bread baking, you remove the starter from the fridge, “activate”it, then use some for the bread baking and return some to the fridge for next time. Note: if your starter has been in the fridge unused for some time, water or a dark layer will develop on top, this is perfectly fine.
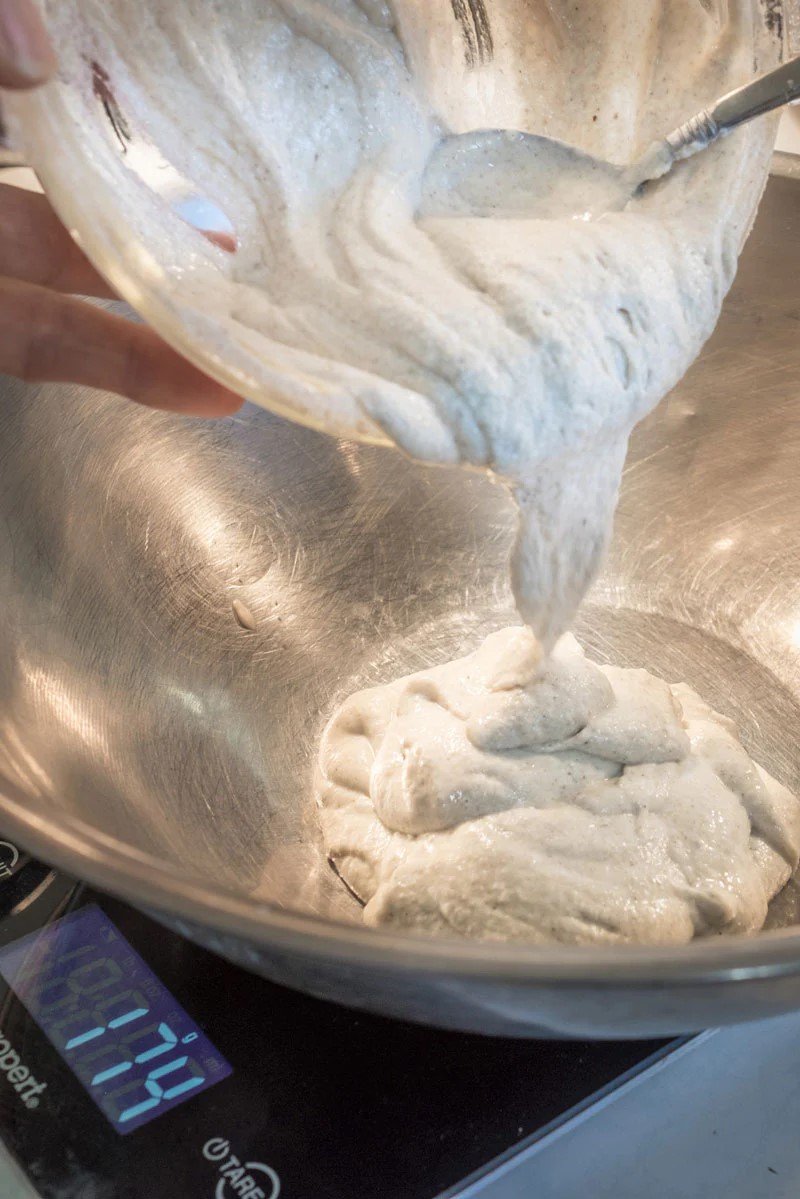
ACTIVATE YOUR STARTER
24 hours before baking your bread activate your starter (ie if you want to bake bread at night, start activating your starter the night before).
To activate your starter remove it from the fridge. Measure out ½ cup starter and discard any surplus starter.
Mix the ½ cup starter with ½ cup Bio-Oz Buckwheat flour and ½ cup water in a bowl, cover bowl with a clean tea towel and keep at approx. 20C to 25C for 8 to 12 hours to allow the yeasts/bacteria to “activate” (in summer I use an esky with ice bricks and thermometer to maintain the correct temperature).
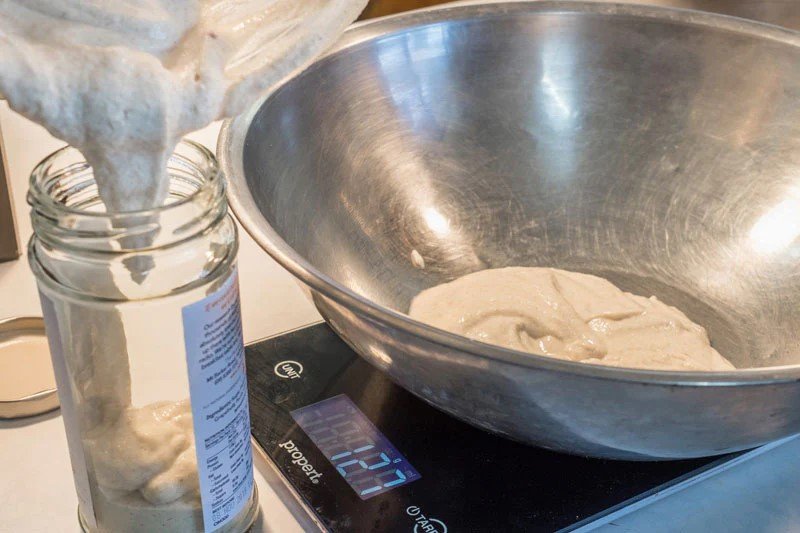
Your starter is now ready to use for bread making. Set aside what you need for your bread recipe and place the remaining starter in a sealed jar in the fridge until next time. Your starter will need to be activated each time you use it.
Cooking time approx. 1 hour Makes 1 loaf
MAKING THE BREAD
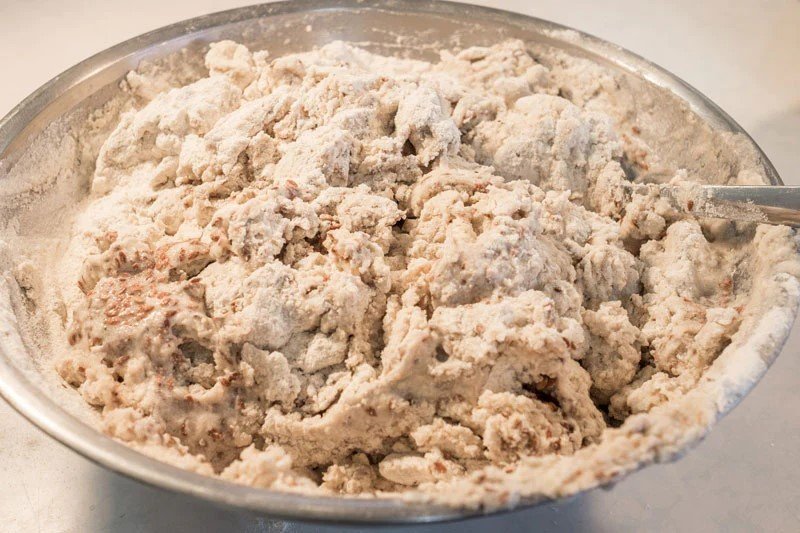
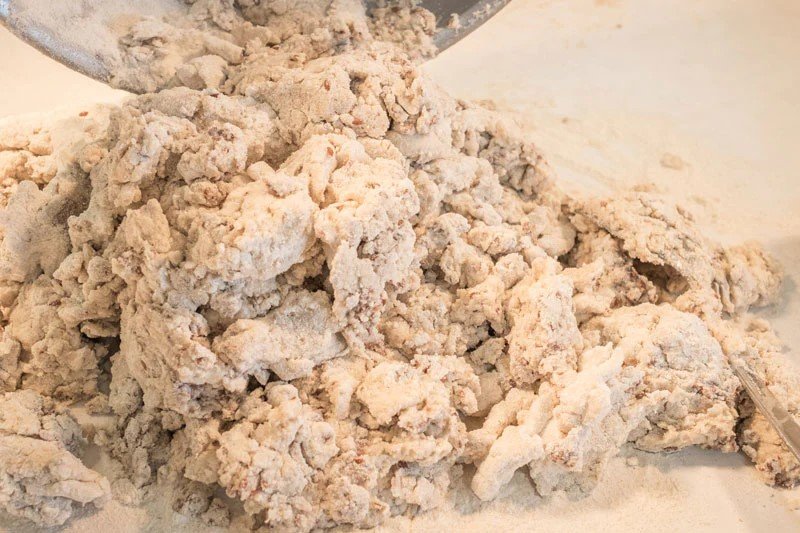
Combine all bread ingredients above and turn onto a floured surface for kneading. (Gluten free bread obviously doesn’t have gluten so, in theory, doesn’t require kneading. But, I find kneading creates a smooth dough and helps get the moisture right.) As you knead add more flour to your hands and the dough until it the dough stops sticking to your hands. See the attached video for a kneading method to incorporate air into your dough.
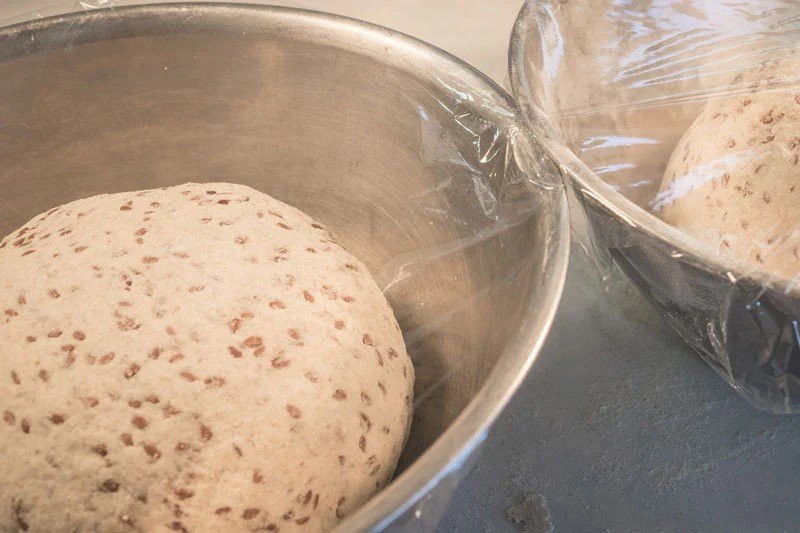
Once the dough is smooth and not sticky, form into a round shape and place in a bowl, that is lightly floured.
Cover bowl and place in a warm spot 20C to 25C for proofing for 8 to 12 hours (I use an esky with ice bricks during summer).
Pre-heat oven to 250C/260C.
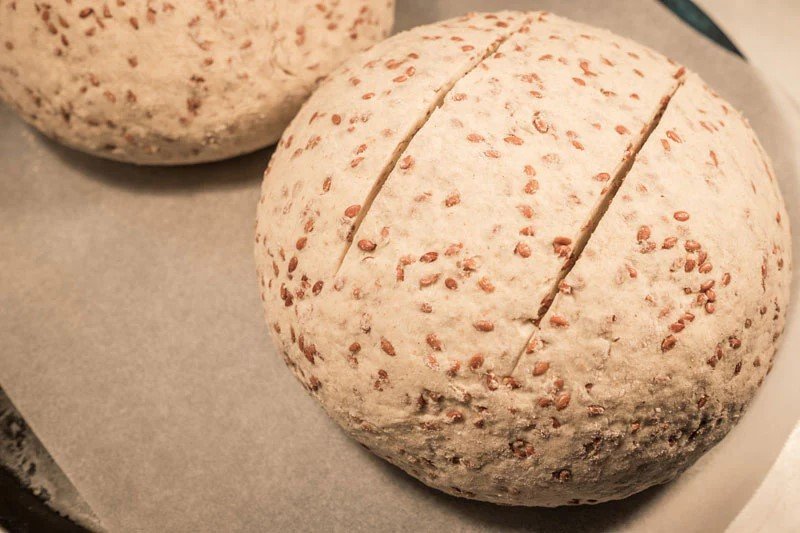
Carefully turn out the dough (it should have risen slightly) onto a flat pizza/biscuit tray lined with baking paper.
Just before placing the bread in the oven slit the top twice with a sharp knife, this helps the bread to rise evenly.
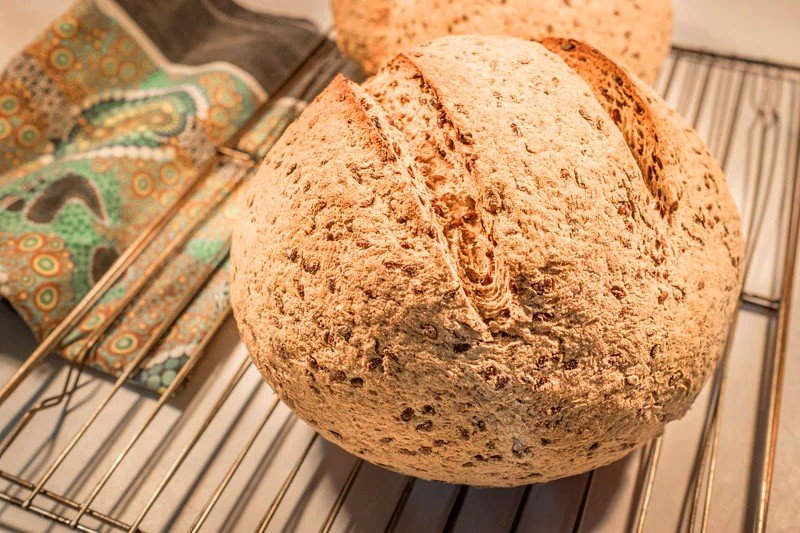
Place bread in heated oven, reduce temperature to 230C and bake for approx. 1 hour. Bread should sound hollow when tapped.
Place bread on cake cooling rake and allow to cool completely before slicing.
You will need a good quality bread knife or electric knife for slicing. (I let my bread sit for 24hours under a clean tea towel before slicing it, this gives the crust a chance to soften.)
Download our print-ready recipe
The following photos and videos are for a double batch, just double the recipe to make 2 loaves!
The following photos and videos are for a double batch, just double the recipe to make 2 loaves!